Are you looking for the right way to publish your Android apps to the Google Play store? The blog explains the detailed steps and requirements to help you publish your apps hassle-free.
Mobile App Development Companies spend countless hours developing their dream applications. As soon as the application is ready, the next big concern is its Successful Release. After all, it is how to showcase your mobile apps to your audience and the world.
Publishing an app on the Play Store is more complex than just uploading it and expecting instant success. There are many steps you need to take before you can publish your app.
For expert aid, you can seek the help of the Android App Development Company to make your app deployment hassle-free.
Do you want to publish an app to the Google Play Store? Then refer this blog and contact us for more details
Schedule a Free ConsultationHow To Publish an Android App on Google Play Store? – Detailed Steps
Step 1: Create a Developer account
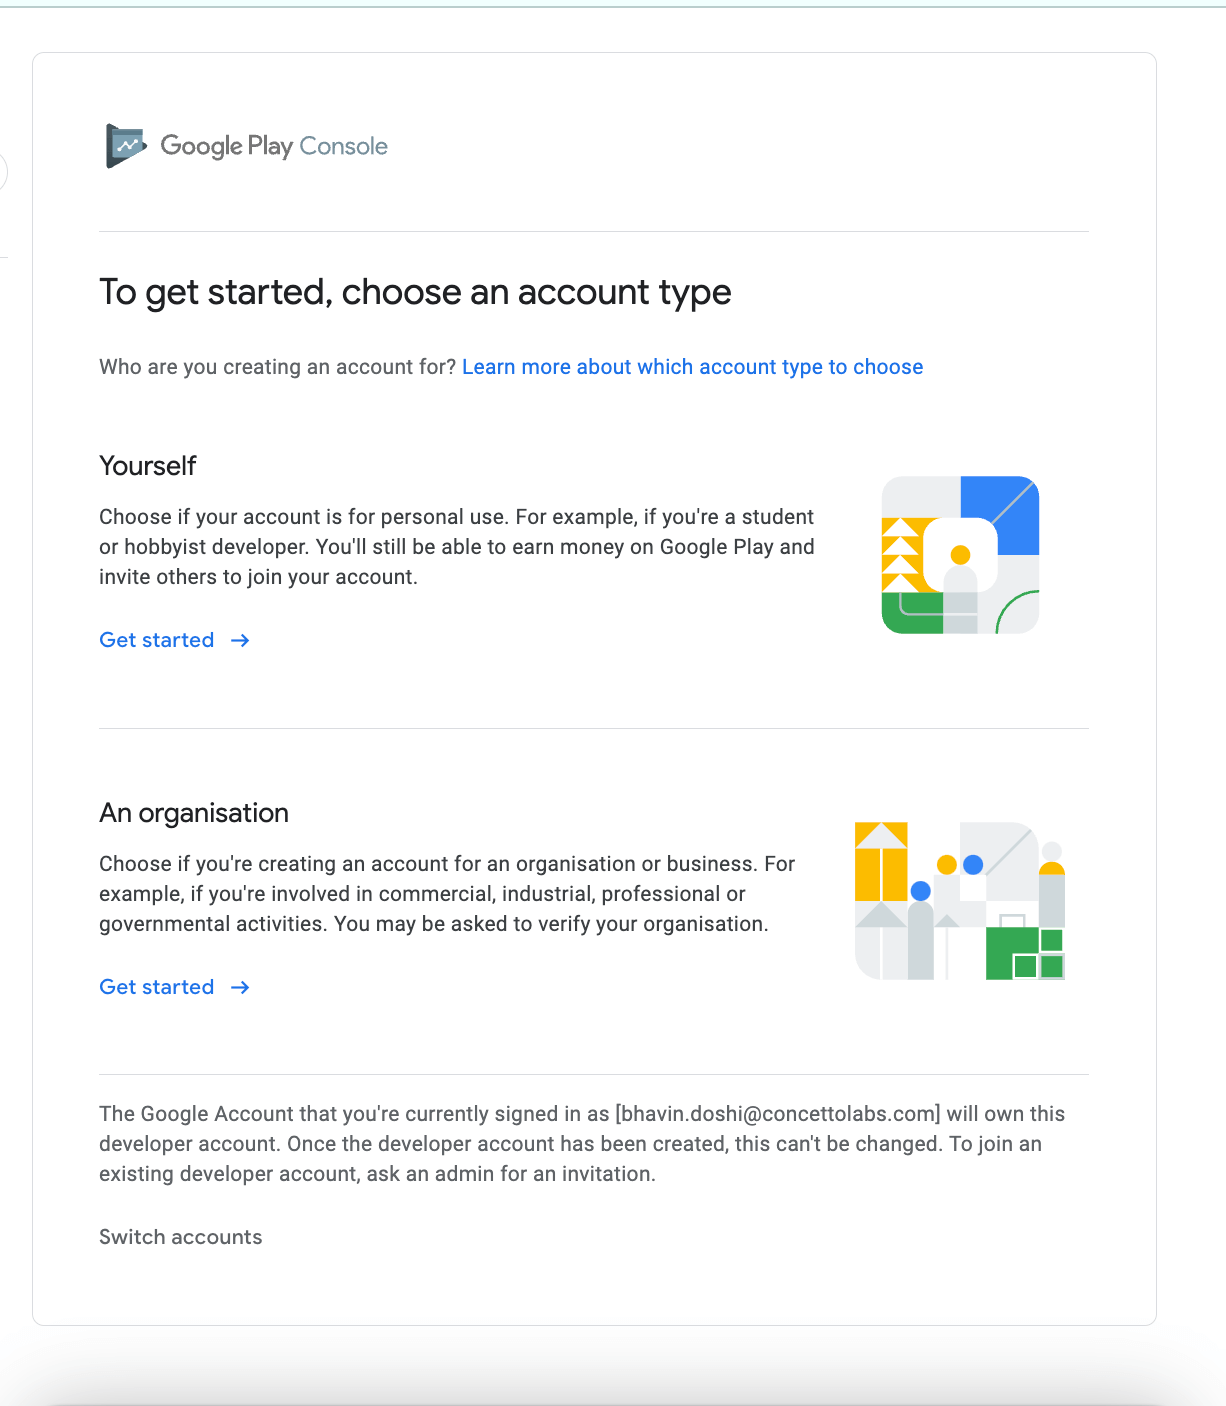
The first step requires users to create a developer account on the Play Store. Users can create a developer account in four simple steps: So, to follow the steps, go to your Play Store.
- Sign-In with Your Google Account
- Accept Terms & Conditions.
- Google Play Store charges a $25 fee for a developer account.
- Enter the account details to complete the registration.
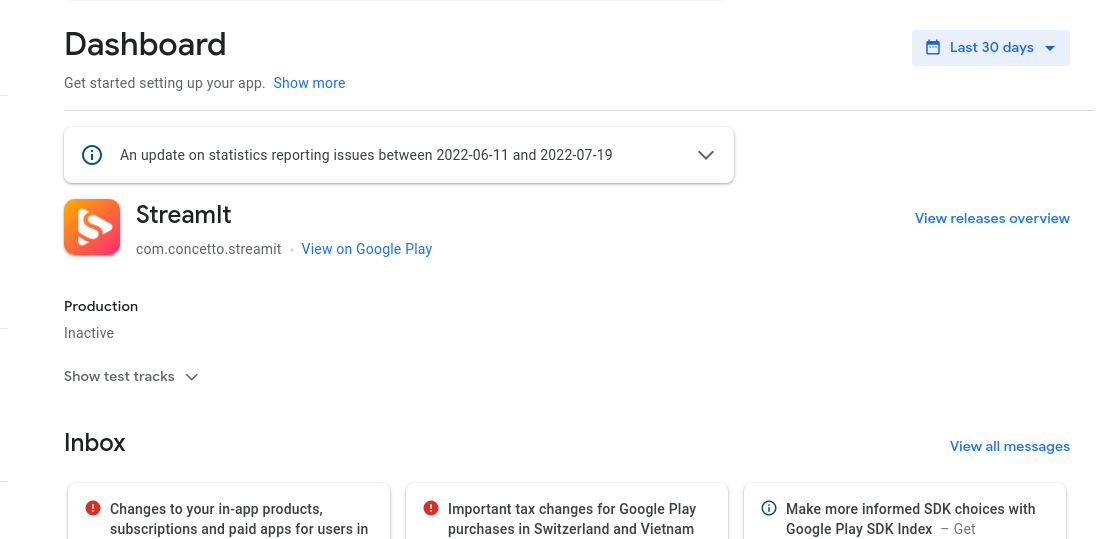
Once you sign in as the developer, a new page will open with a button saying “CREATE APPLICATION”.


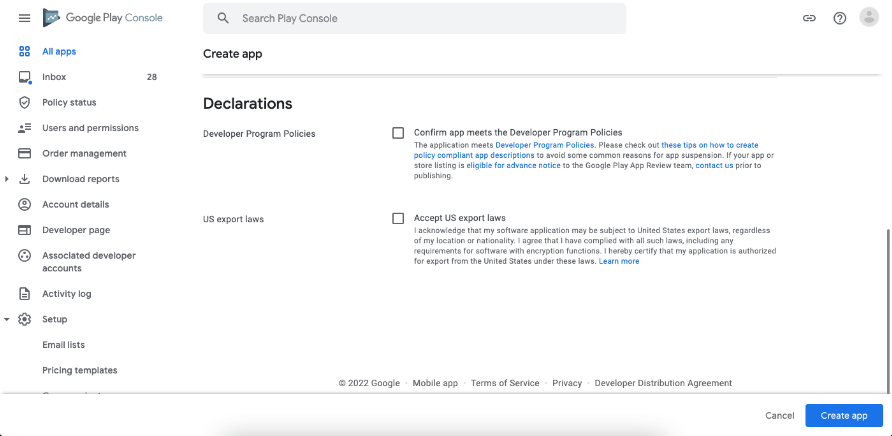
Click on the button to enter your Application Name and then choose your default language. You can pick multiple languages if your app supports those languages. You should add separate app screenshots for different languages.
After entering the name and the language, click on CREATE.
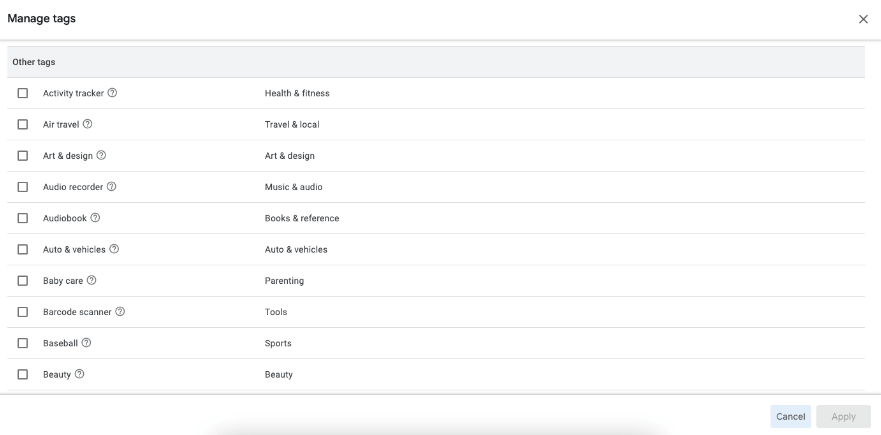
Tags
You can choose the tags for your application from the available list for better SEO. Play Store does not allow adding custom tags.

Link the Merchant Account
Will your app offer in-app purchases? If yes, you need to link your merchant account. You can use your Google Play Console account and create a merchant account if you do not have a merchant account.
Next, click on Reports and select ‘Set up a merchant account now’ option to fill out your details.
Once you fill in the details, the merchant account will connect to your Google Play Console account, and you can offer in-app sales.
Step 2: Store Listing
When you click the CREATE button, the Store will redirect you to a new page where you have to add a short and full description for your application.
1. App Description: Short and a full description for your application. (not more than 30 characters)
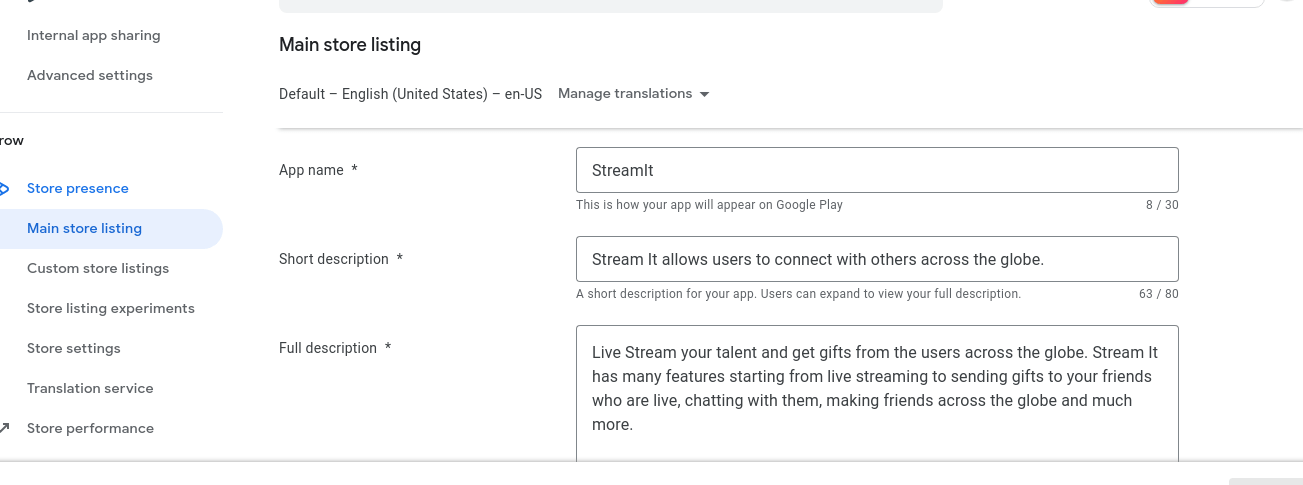
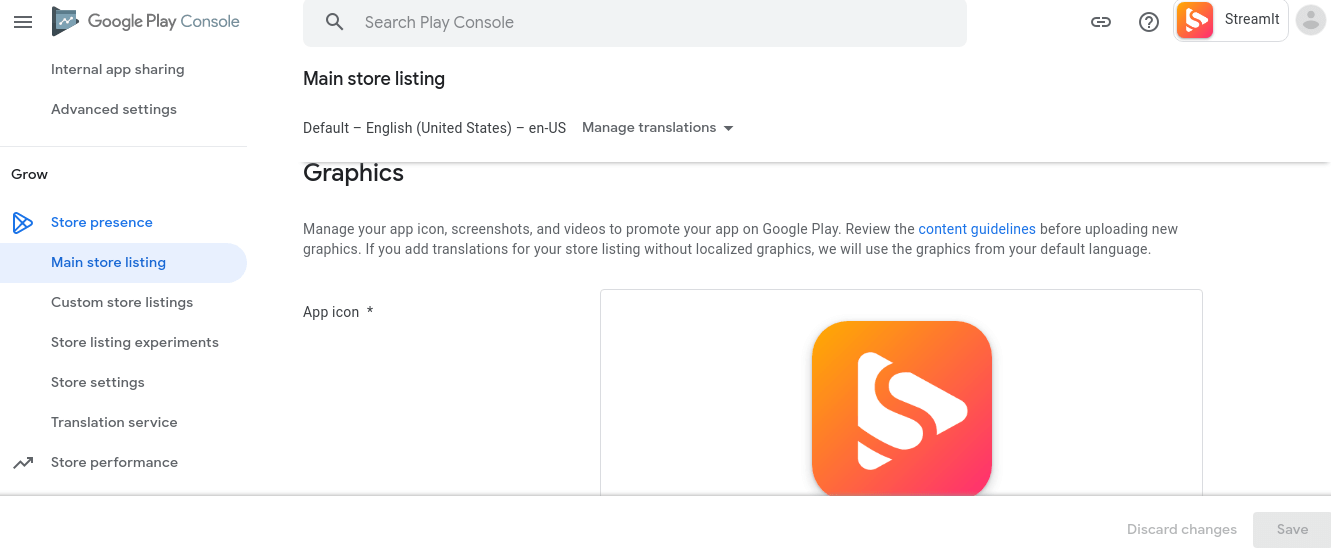
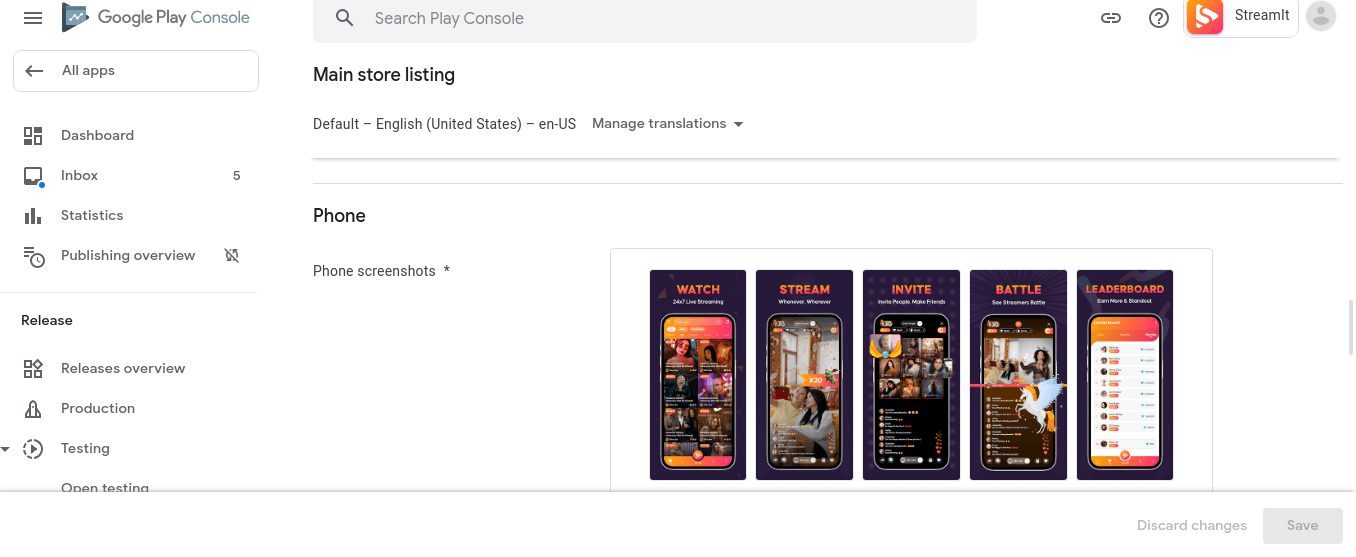
2. App Icon: After adding descriptions, scroll down to add a high-resolution icon for your app and add app Screenshots.
The app icon must be of size 512px by 512px and the format should be 32-bit PNG (with alpha). Maximum file size can be: 1024KB
 4. Promo video

You may add a link to your YouTube channel if you have any promo videos. Play Store will display this video before the screenshots on the app’s page.
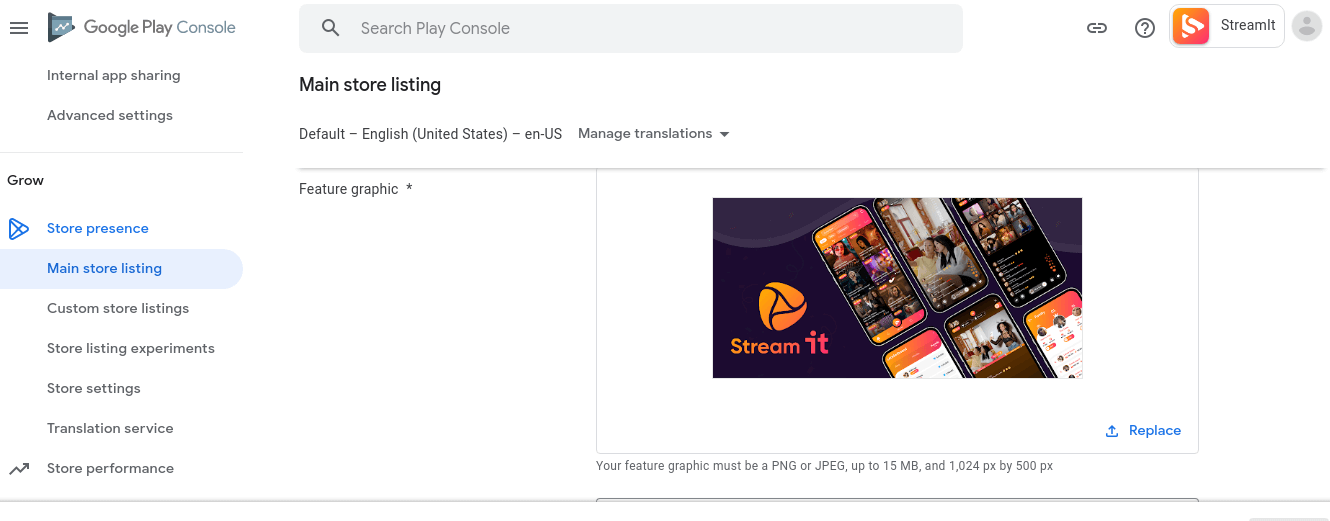
5. Feature Graphic: Next, you must add the Feature Graphic, which the Google Play store will use everywhere to feature your app. The size of the feature graphic should be 1024 * 500, and the format should either be JPG or 24-bit PNG.
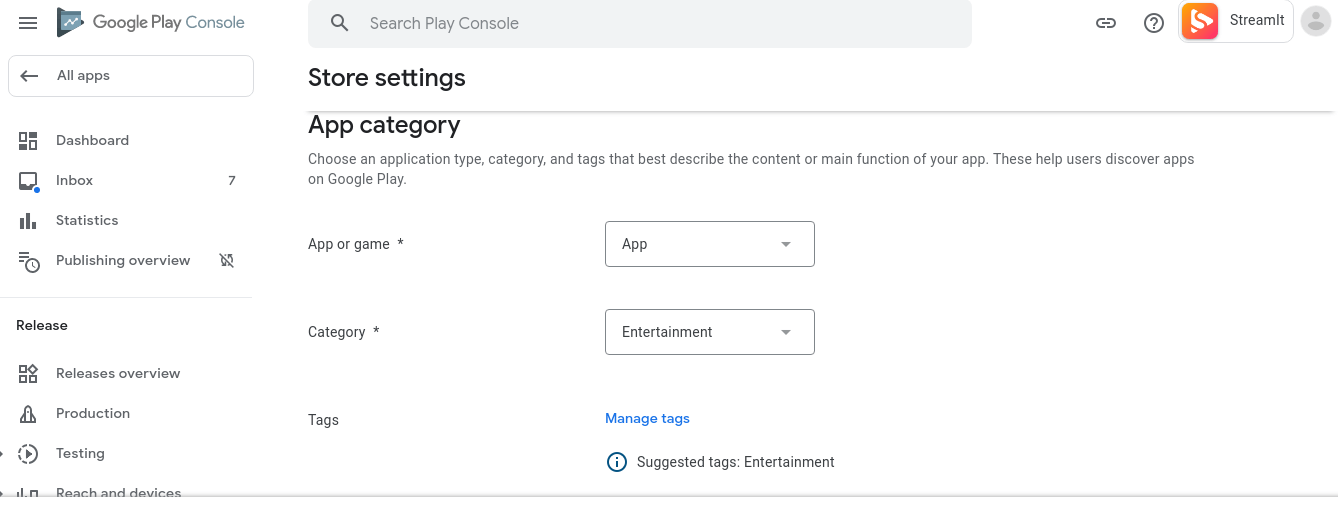
6. App Type & Category: Next, you have to add the type and category of your application. You can choose your application type and category from the drop-down menu.
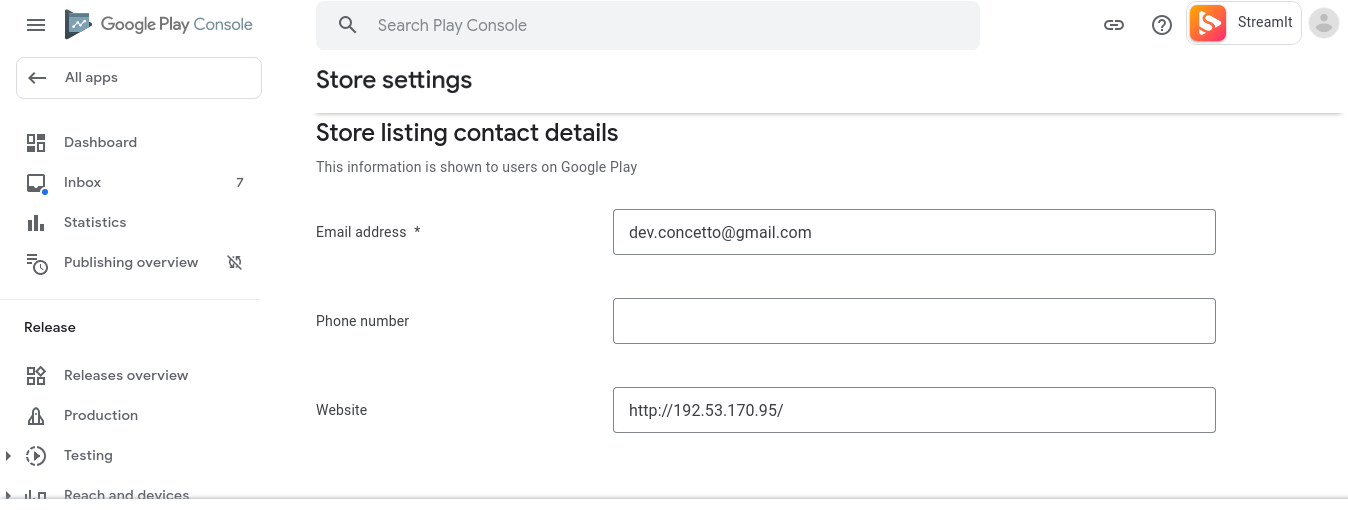
7. Contact Details: The next step is adding your website URL, email, and contact details. After adding all the details, click the button saying SAVE DRAFT.
After you click, Save Draft button, the Store Listing tab will turn green.
Step 3: Application Details
The next step to publish your Android apps on Play Stores is to click on the App Releases tab. Then, under the Production track, click on the button saying MANAGE.
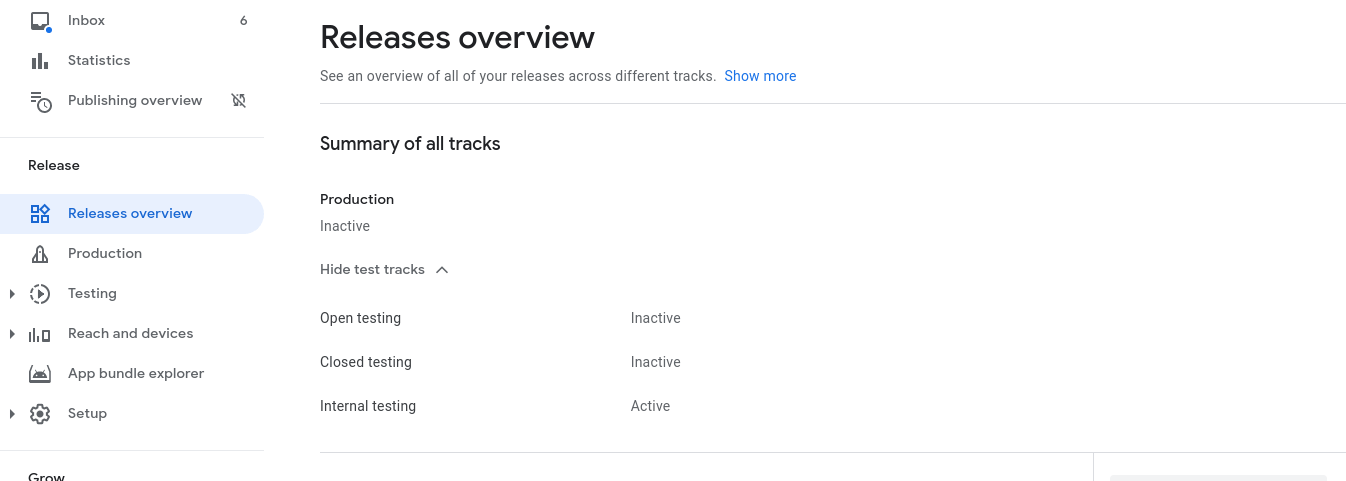
The Play Store will open a new page where you must click the CREATE RELEASE button.

Then upload your APK file in Android App Bundles and APKs to add a section and click SAVE.

Step 4: Content rating
The next step is to click on the Content rating tab and CONTINUE.
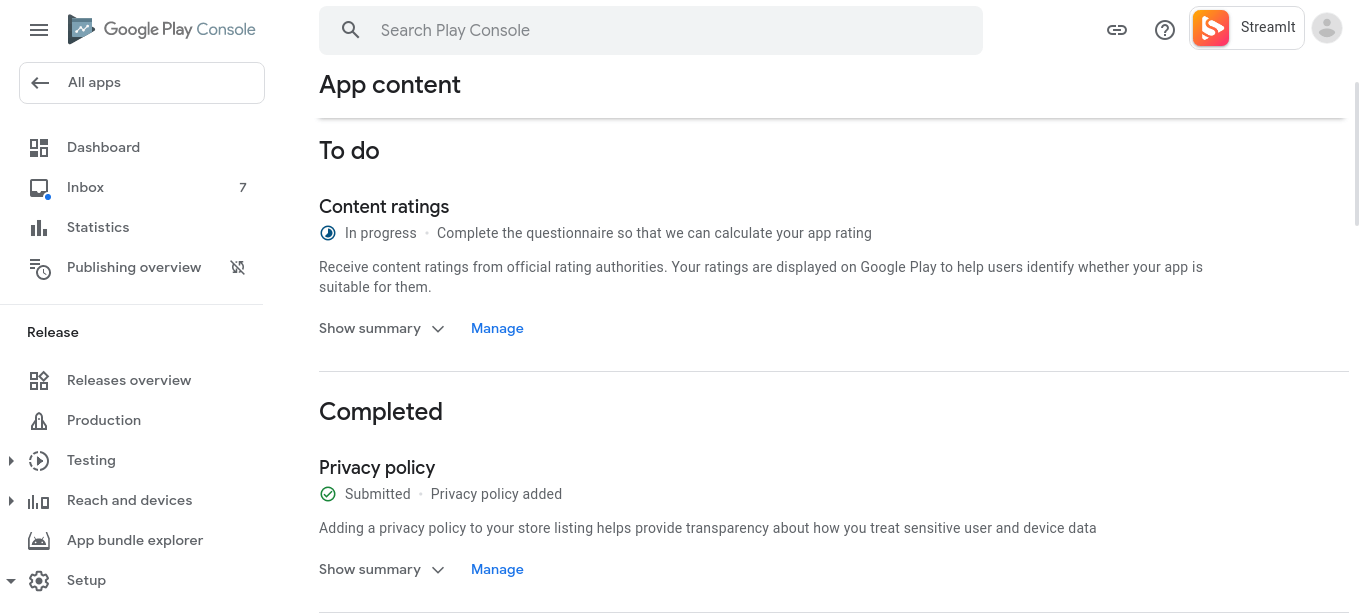
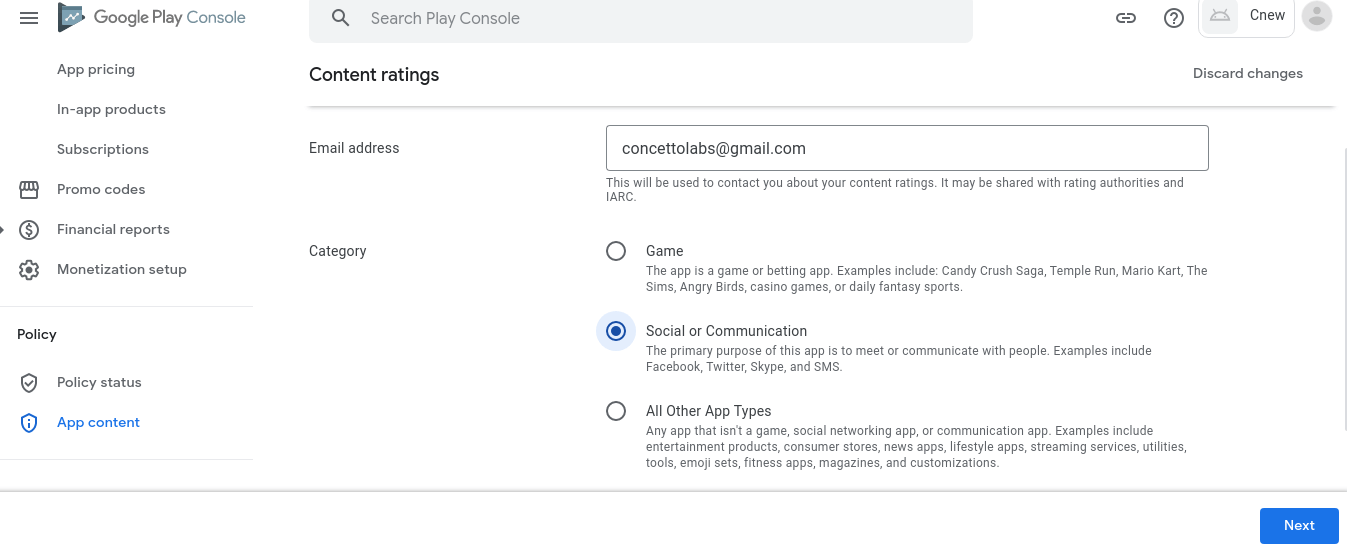
The new page will ask you to enter your email address, after which you can choose a category for your app from all the listed categories.
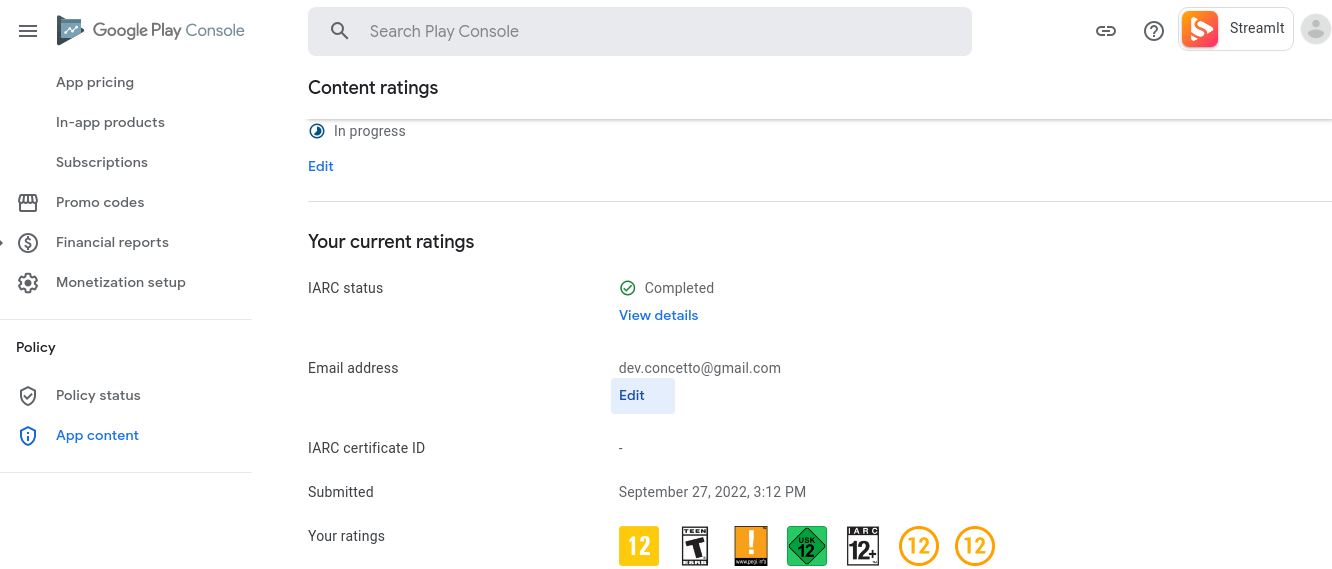
Once you choose a category for your application, the new page will show you a Questionnaire. Fill in all the answers carefully and accurately, and then click SAVE.
After saving the answers, click CALCULATE RATING, and the store will redirect you to a new page.
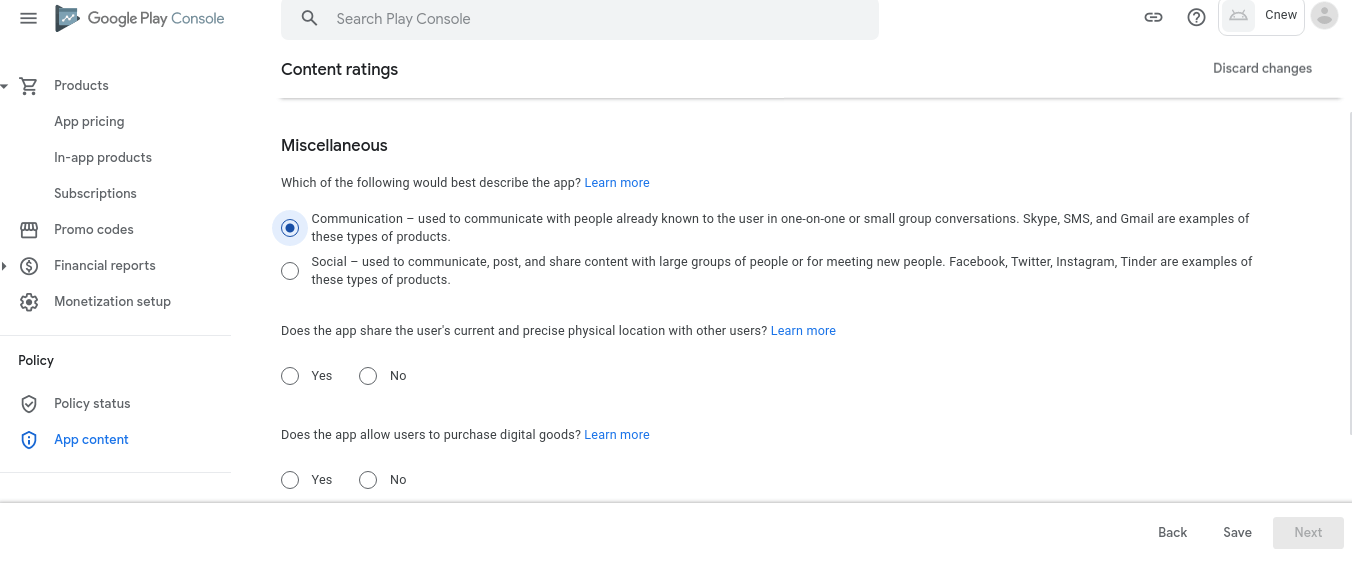
Read the disclaimer carefully and click Apply Rating, which will turn the Content rating section green.
Step 5: Pricing & distribution
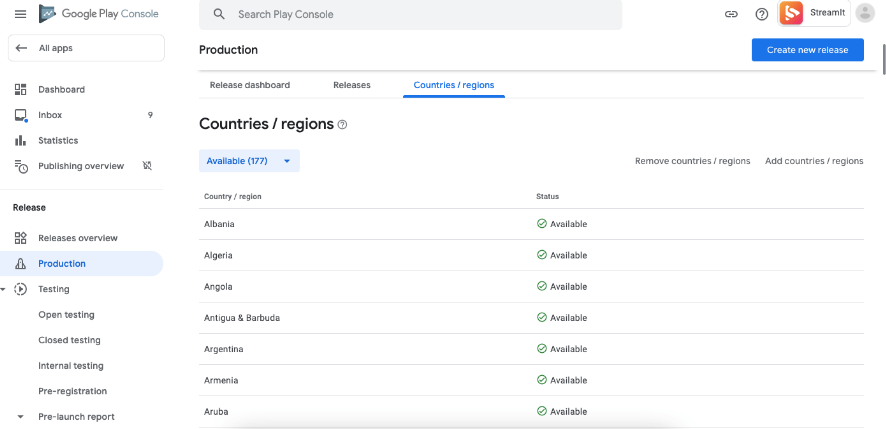
The next step to publish your Android app on Google Play Stores is to click on
Pricing & distribution section. On the new page, you can pick a country where you want the application to be available.

On the next page, tick right on the content guidelines and US export laws section.
Click SAVE DRAFT, and the Pricing & distribution section will turn green.
Step 6: App content
The following section is the App content, where you have to add the Privacy policy for your application. Click Start to add the URL for your privacy policy.
Similarly, click the Start under Ads option to choose whether or not your app has ads and click SAVE.
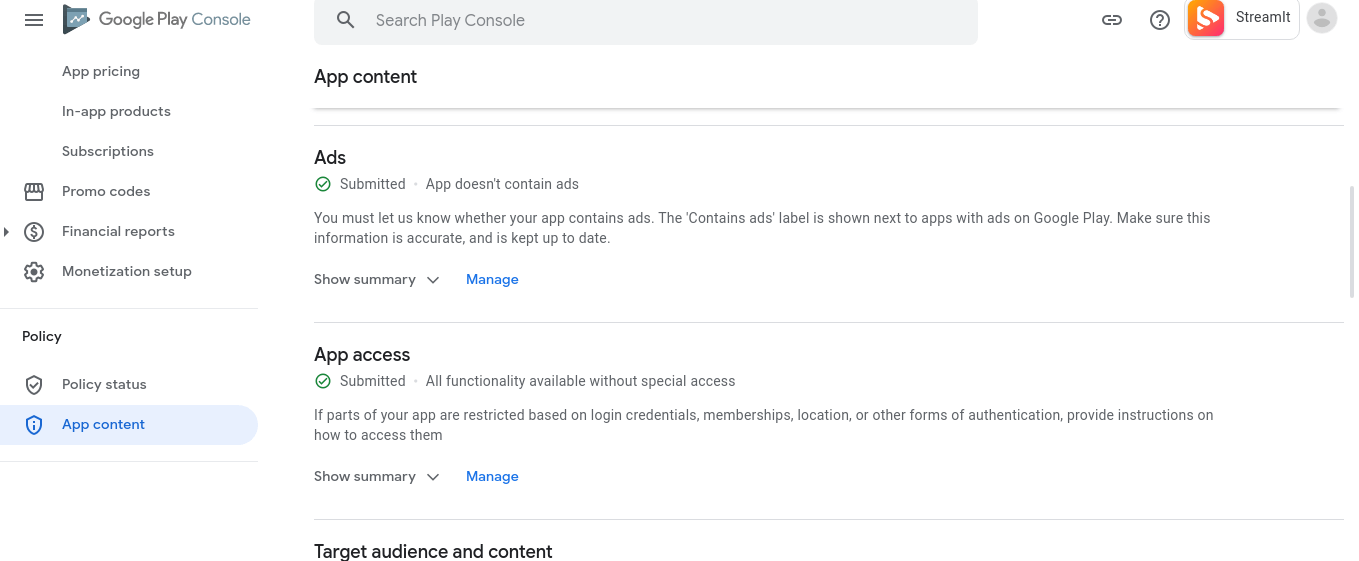
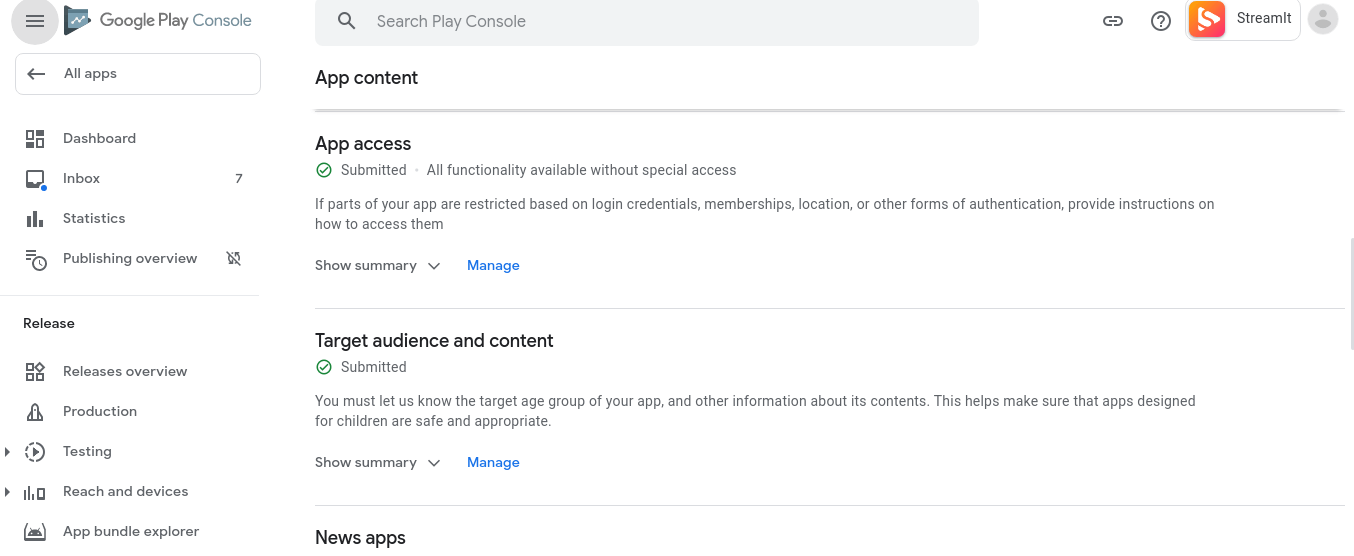
Next, click Start in the Target audience and content section. Under this section, you can select the Target age group and click Next.
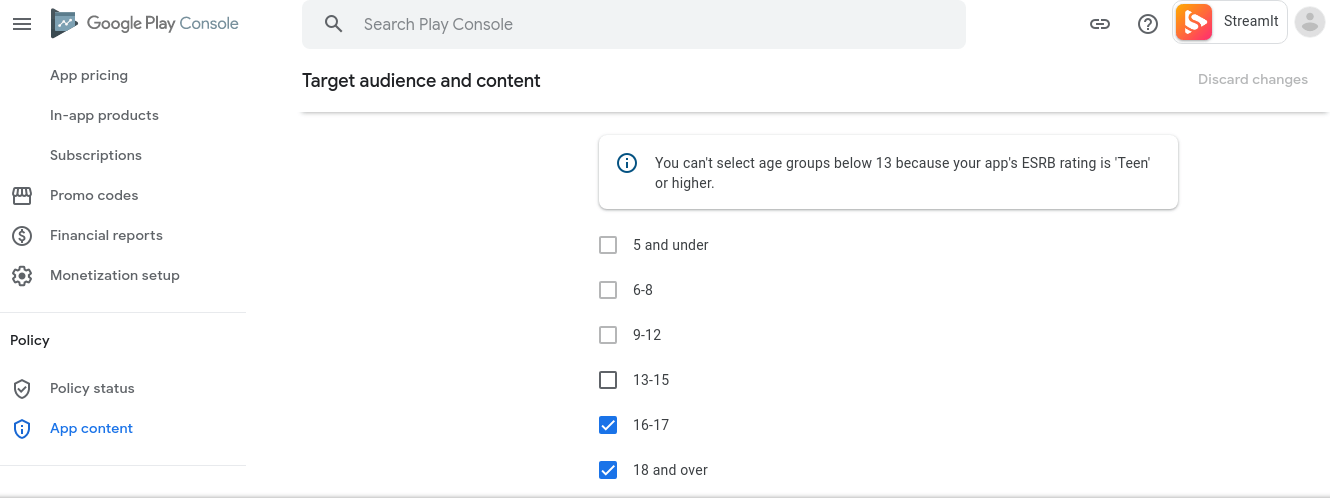
If your app is also available for kids, click Yes under the Appeal to children section and click Next. Click Save to turn the App content section green.

Step 7: App releases
In the last step, you must go back to the App Release section. You have three publishing options: Production, Beta and Alpha tracks.
It is advisable to publish the Alpha or Beta versions first to test the application and gather feedback. This pre-release testing and customer feedback will allow you to improve the application.
If you choose Public and later switch to Alpha or Beta, the application will go for another review round.
Click on EDIT RELEASE in the Production track.

On the new page, click on the REVIEW button.
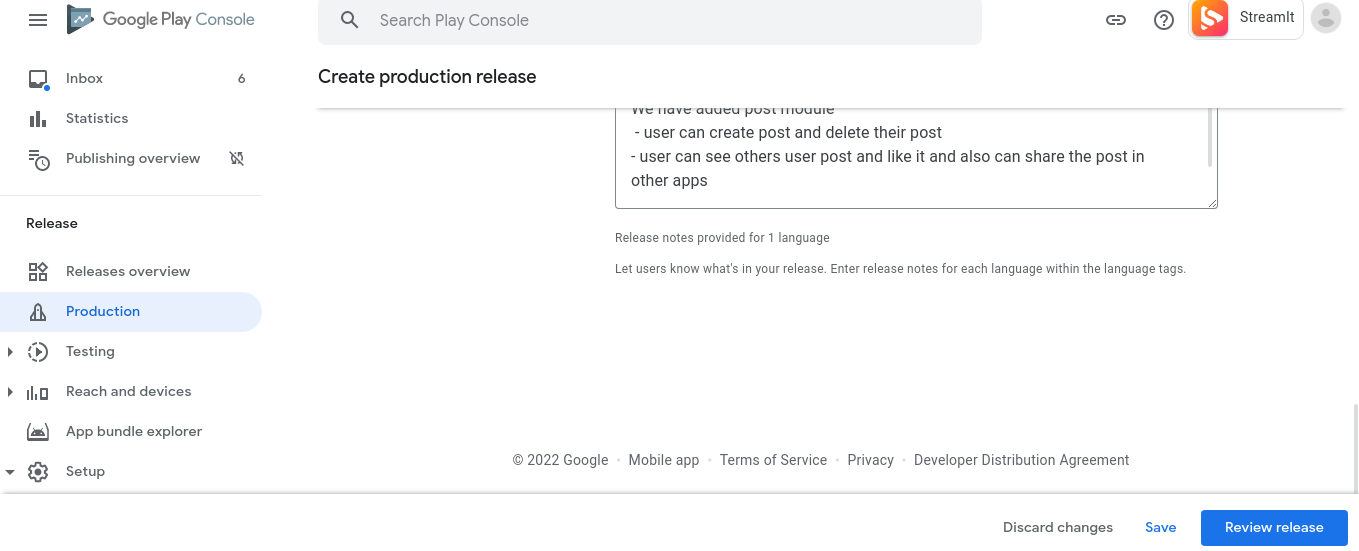
Then, on the next page, click START ROLLOUT TO PRODUCTION to send your app to review.
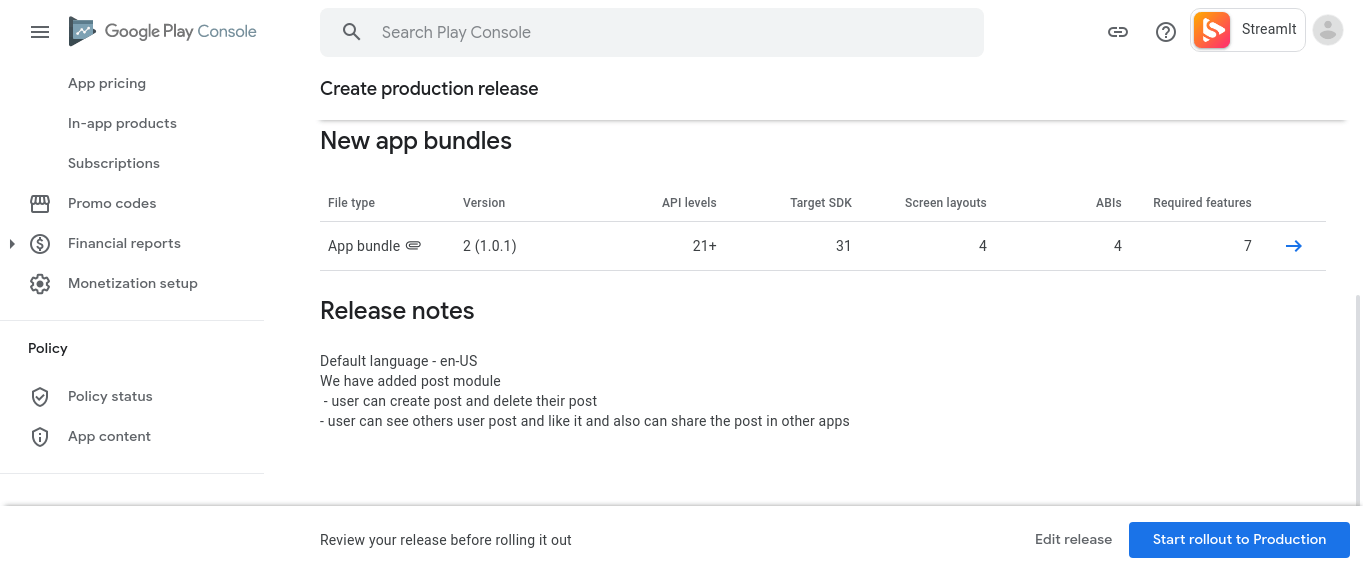
If you need to remember to add any information, the Google Play Store shows the tips and instructions. Play Store will not send the app for review if any information is missing. The Google Play Store takes 4 to 5 days to review your app. You will receive a notification on Google Console Dashboard after completing the review.
Conclusion
Hopefully, we explained the steps to publish an Android app on Google Play Store clearly. Publish your Android applications on the Play store and reach out to the most significant mobile app users.
In case you have any queries, you can reach out to us at Concettolabs is a top Android app development company, and our expert Android app developers can help assist you with publishing the applications. After the launch, you need to market your app to inform people about its release.
Also, you must maintain the apps to run them smoothly and upgrade them timely with new changes or versions.
You can hire Android app developers from Concettolabs for your applications’ seamless development, launch, and post-release support.




 Indonesia
 Botswana
 USA
USA
 Italy
Italy
 Panama


 USA
USA UK
UK Saudi Arabia
 Norway
 India
India Australia